Hey eSkaters,
We have a bit of a fun one today.
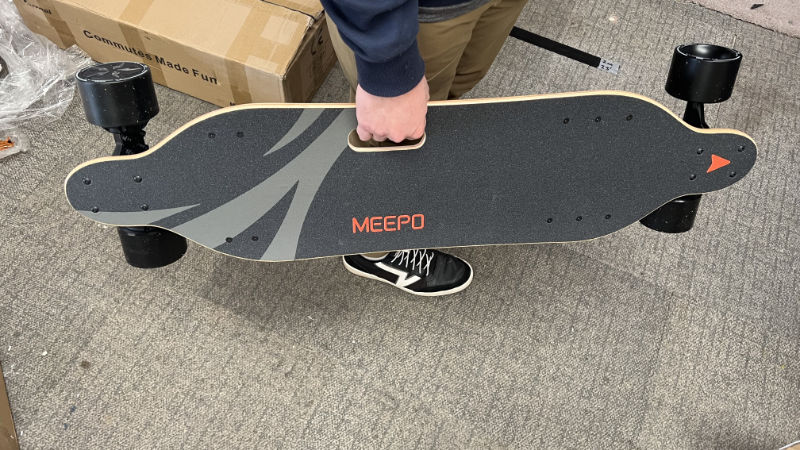
We’re doing the Maxfind M5 DIY Kit review and at the end there are detailed step-by-step instructions on how to install it on your own deck.
The whole process from installation to riding has been a lot of fun. There’s something special about building your own electric skateboard.
And before I have DIY purists jump in and say that this isn’t real DIY eSkate, I’d argue this is a great place to start if you’re new to either eSkate or the DIY scene.
So, let’s get into the review, or you can JUMP TO INSTALLATION GUIDE.

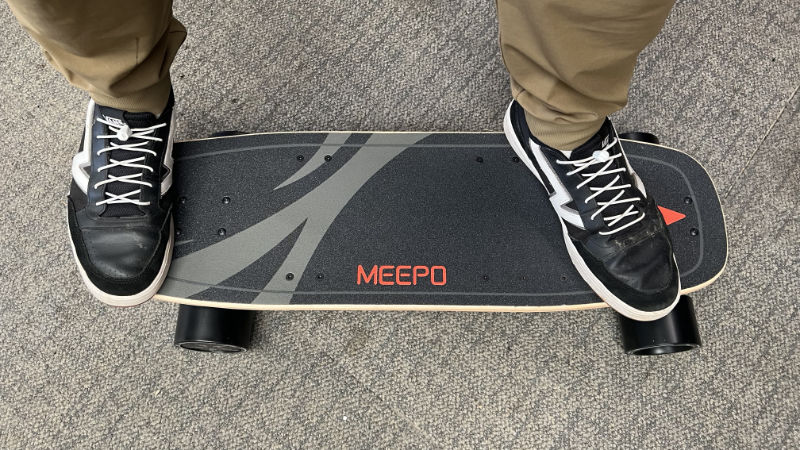
Maxfind M5 DIY Kit Review
Deck and Design
Well, there is no deck.
That’s part of the beauty with this kit.
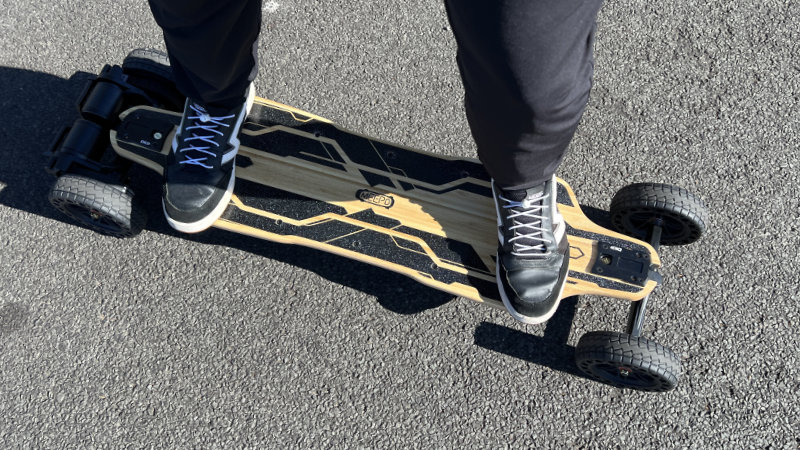
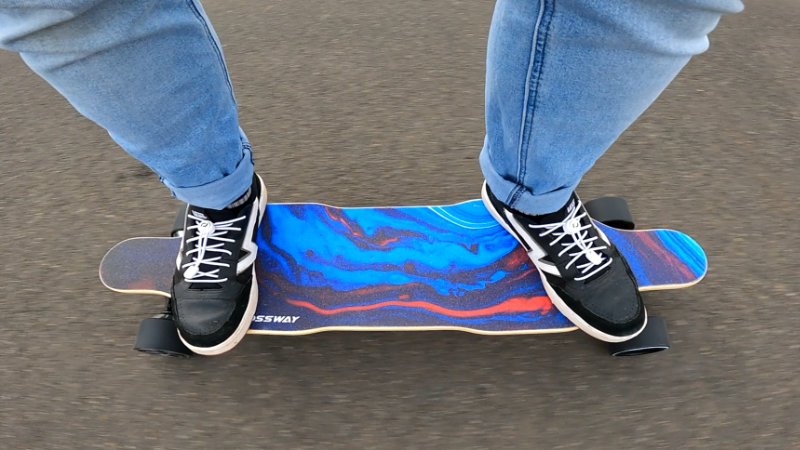
You can put this kit on your preferred deck, so long as the deck can physically fit the M5 Kit.
You need a deck that is at least 18cm wide.
And you’ll need to make sure there is at least 42cm between the inside-holes of the trucks for the enclosure to fit.
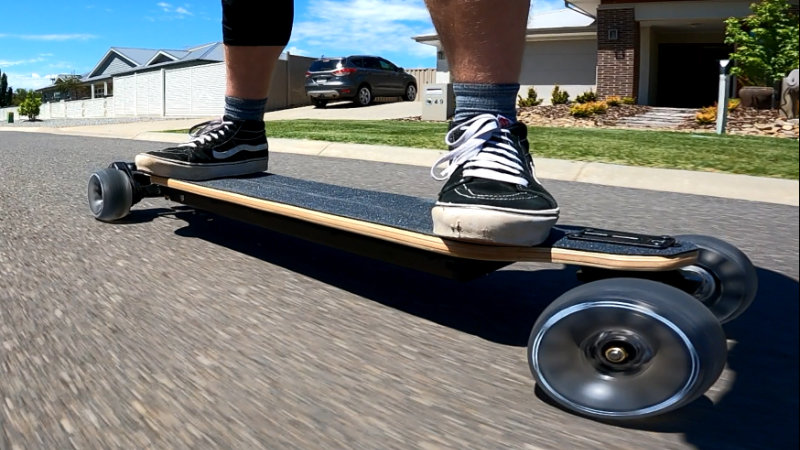
Another thing that will make your life easier is a deck with as flat a bottom as possible. If it curves too much, you’ll end up with gaps between the deck and the enclosure which is a water hazard.
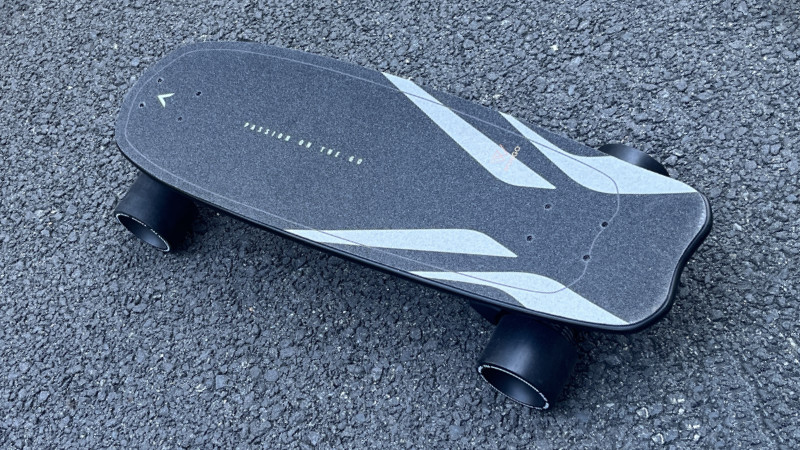
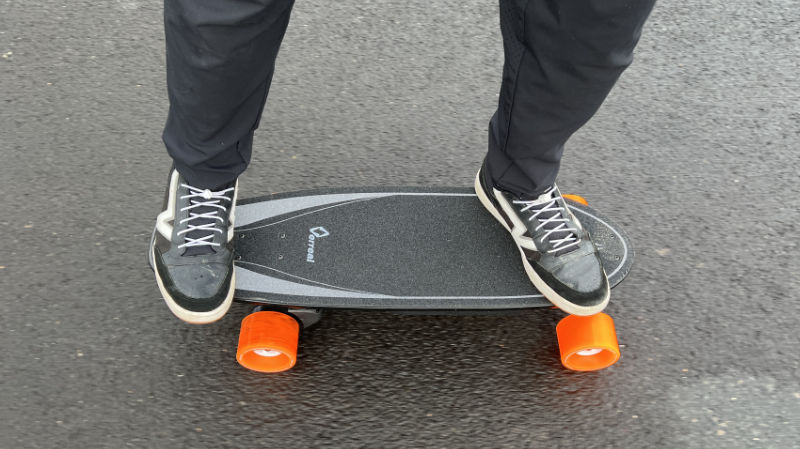
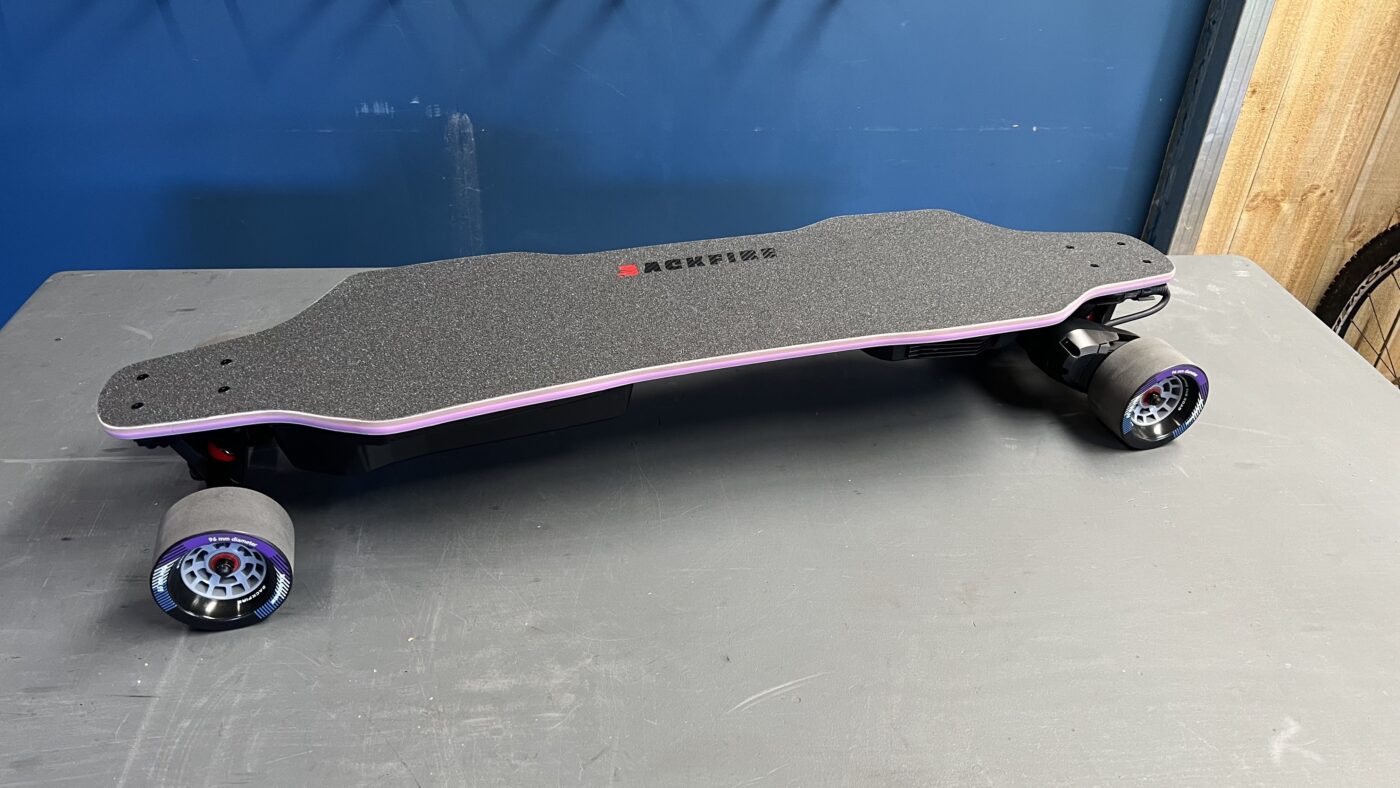
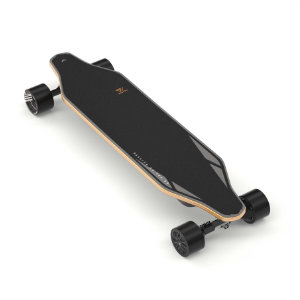
Wheels
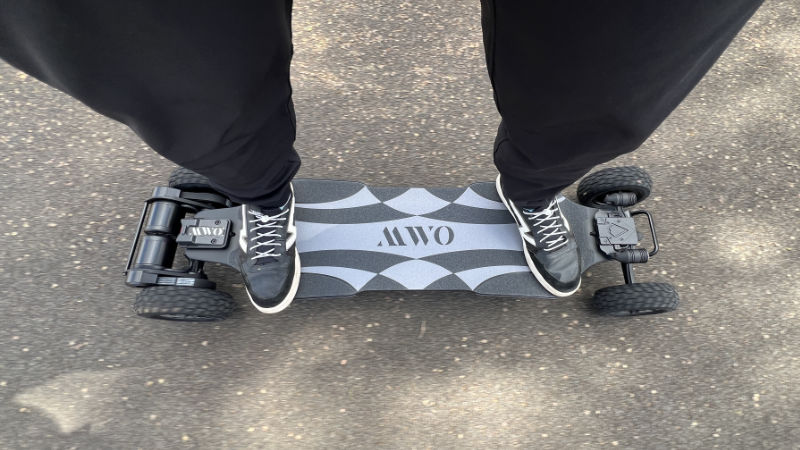
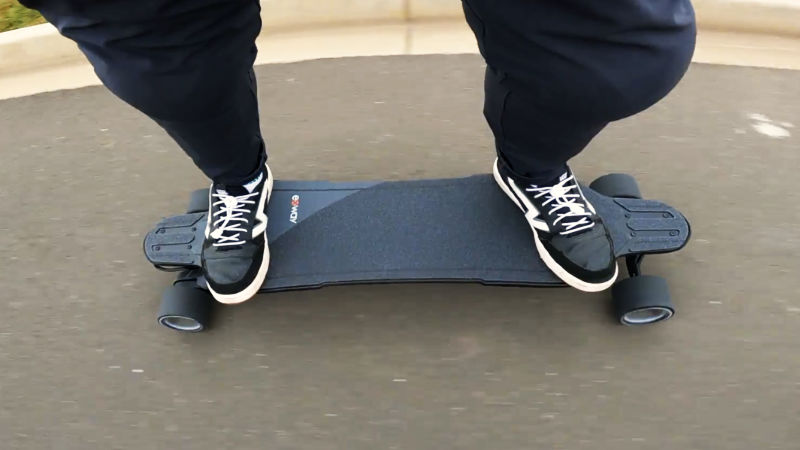
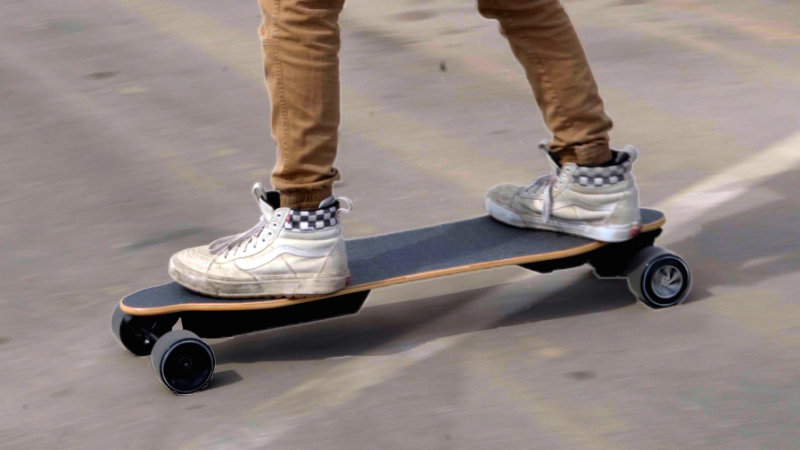
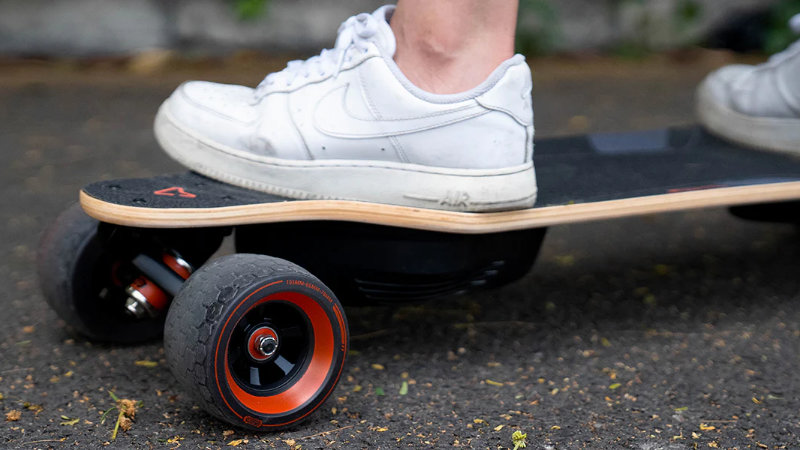
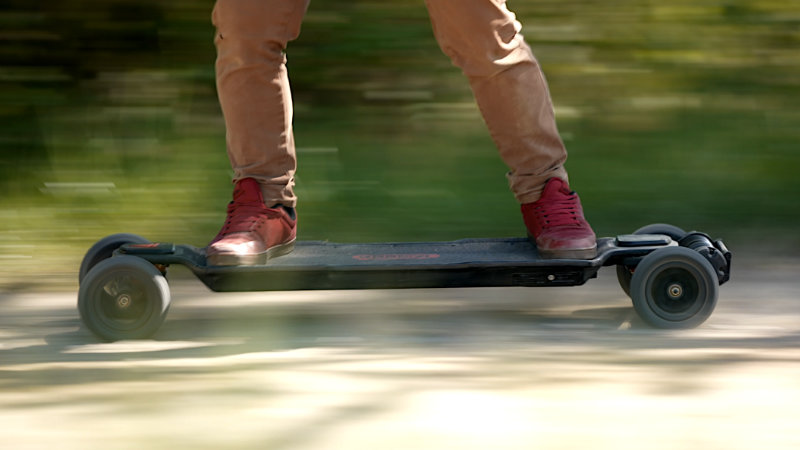
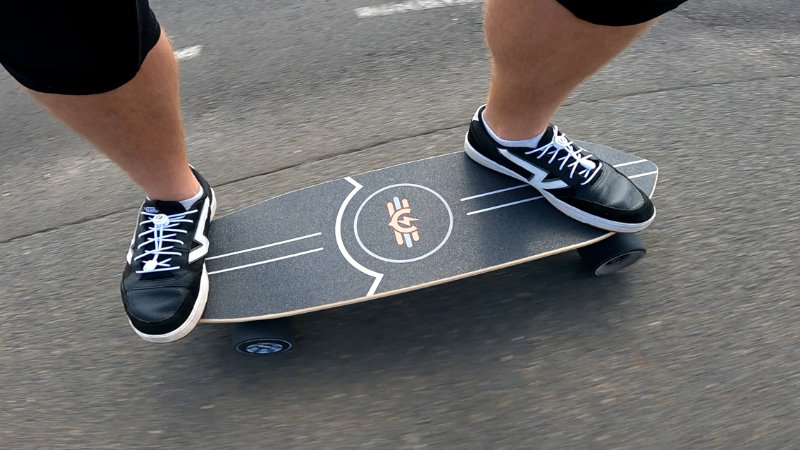
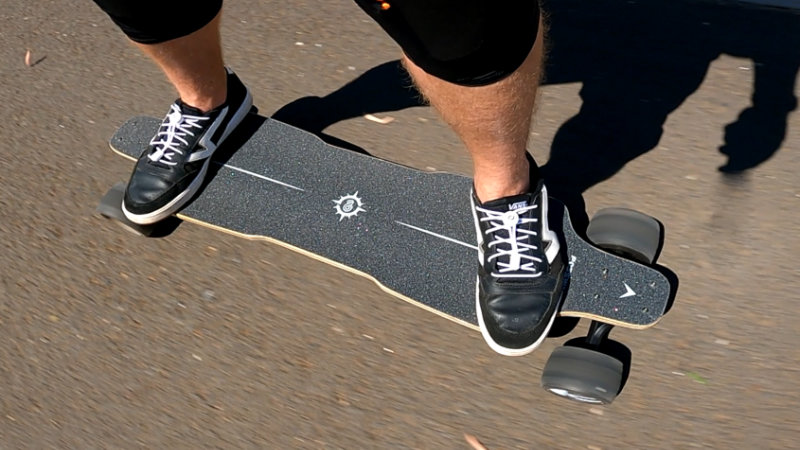
The Maxfind M5 DIY Kit comes with 96mm polyurethane street wheels which are nice and large as well as soft and grippy.
They absorbed a lot of the vibrations off the road well, however, I did feel a little sketchy heading around corners, but I have a feeling that’s more to do with the length of the deck I ended up getting, which is a tad too short for my height.
On the other hand, because the wheels are nice and large I was able to roll over bigger bumps than I usually would, so I felt confident to tackle those little bus stop indicators on the pavement.

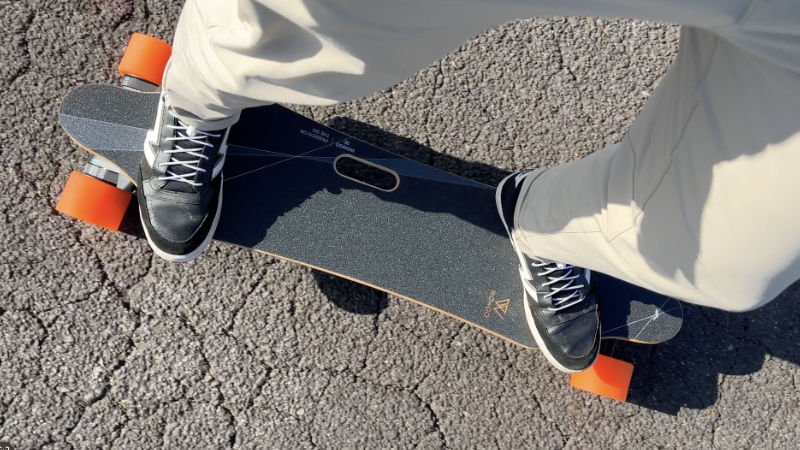
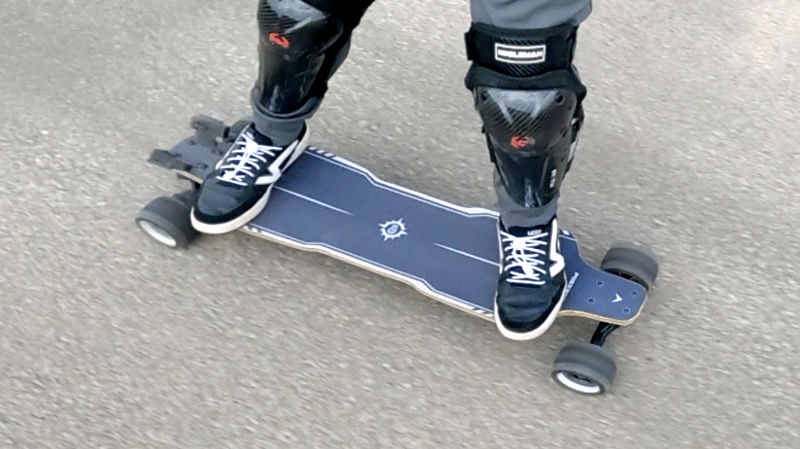
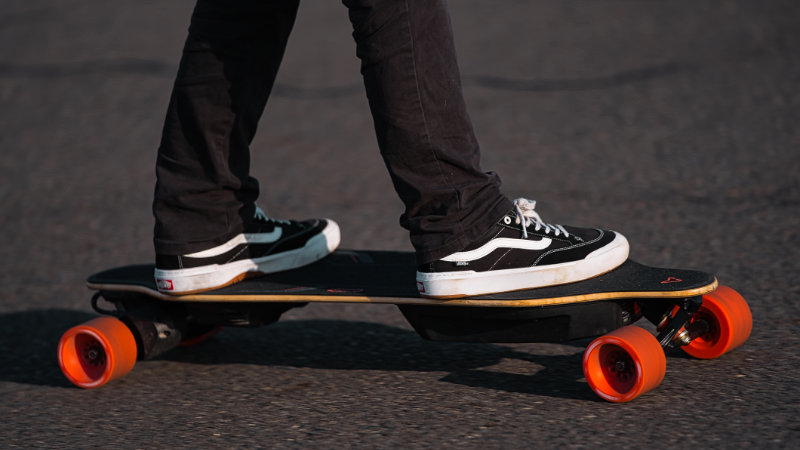
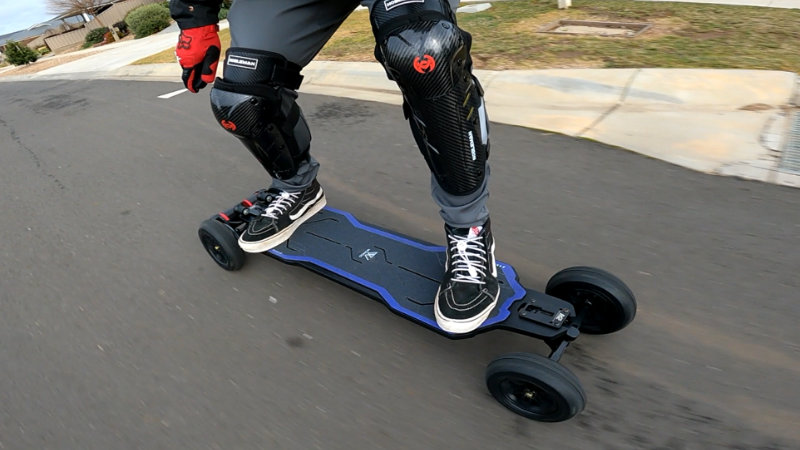
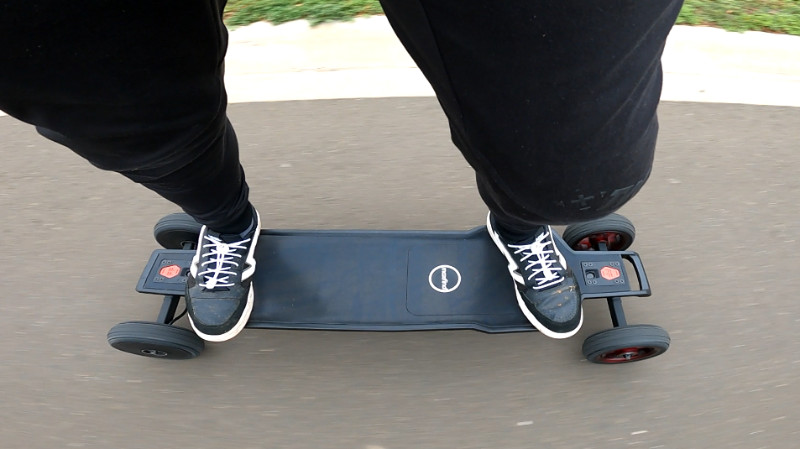
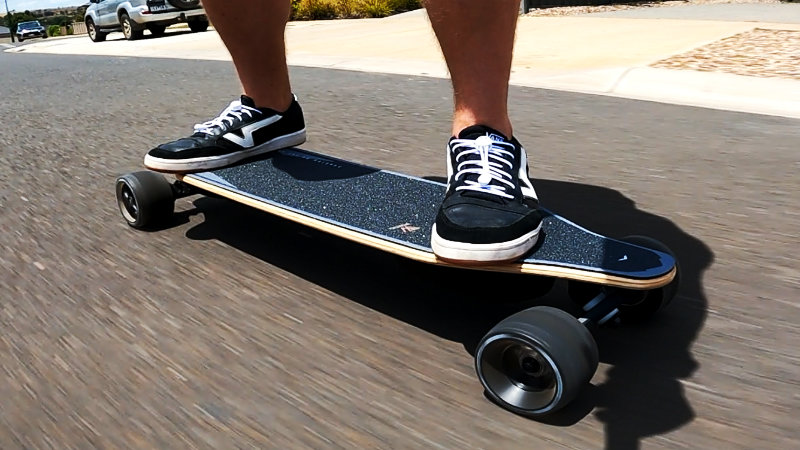
Trucks
The Maxfind M5 is rocking the Max II 10.6” 45deg trucks and they’re quite good. They keep you stable at high speeds but also allow for some nice carving at lower speeds.
However, I wouldn’t mix both speed and carving on these trucks.
The bushings are OK, but I feel they need to be worn-in a lot more than other premium bushings on the market.
But if you’re just looking for something to cruise around on and enjoy your commutes, this is all you need.
And if you feel the need to upgrade the bushings, this can easily be done. All skate shops sell bushings for these types of trucks.

Battery and Range
The M5 DIY Kit is supposed to come with a Samsung 10S2P 6.0Ah 216Wh battery. That’s what it says on their website.
However, when I opened up the enclosure I was confused to see a 4.4Ah 158.2Wh battery.

I had a look at some of the other reviews for this kit and noticed that the same thing had happened to another customer.
Unfortunately, I wasn’t able to follow up with the customer to see if Maxfind’s customer service team had sent them the correct battery.

In Maxfind’s defence, that’s only one customer (that I could find) that has received the incorrect battery.
In saying that, if you’re sending out demo products to industry reviewers, I’d be damn sure they get what is specced on the website. Not a good look.
I didn’t do a range test, because I can’t see the benefit of sharing data about a battery that isn’t the one that is supposed to come with this product.
I’m sorry.
But as stated on Maxfind’s website, the marketed range is meant to be 21 miles / 35km. But in my past experience, with my weight (88kg) and riding style I tend to get around 80-85% of that number.
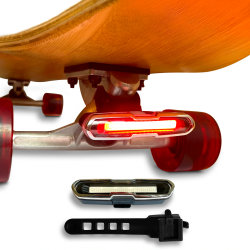
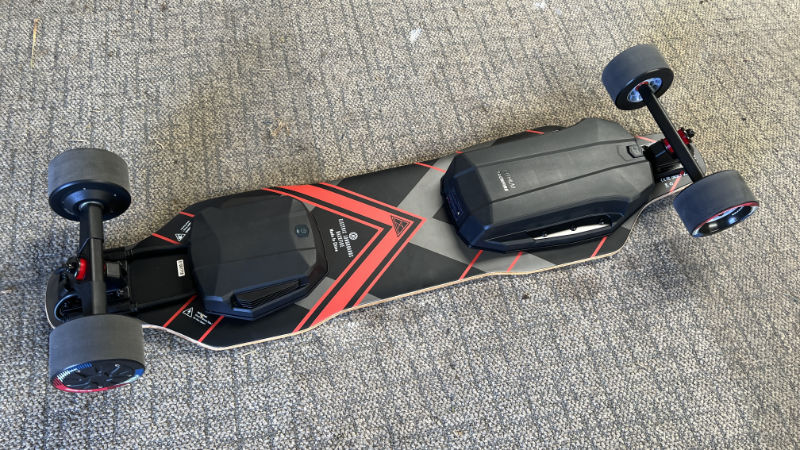
In good news, the enclosure has a nice quick-swap battery system so you can buy a bunch of batteries (hopefully the correct ones), essentially extending your range to as many batteries as you’re willing to carry around.


Motors, Speed, and Hill Climbing
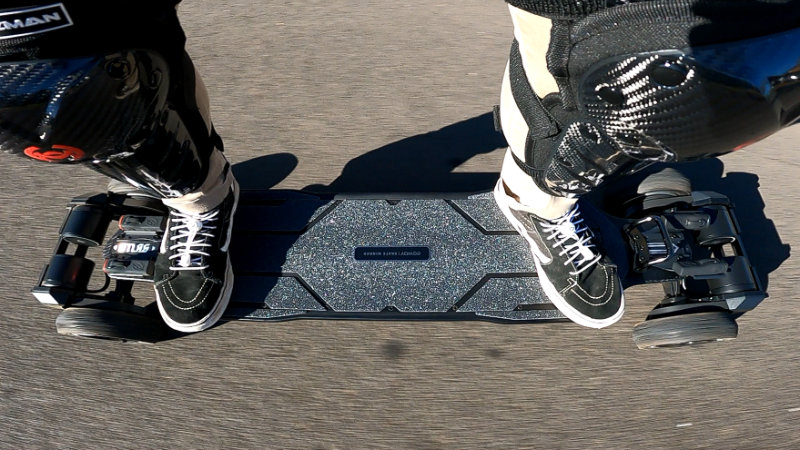
The Maxfind M5 DIY Kit comes with dual 750W hub motors.
Now, after the battery debacle, I did try to do a little extra research on the motors and it does seem like these are the correct motors on my deck.
They’re specced to hit a top speed of 25mph / 40kph and I think it can do that quite easily, I got up to 35kph and I felt like the board had more in it. I’m just not confident enough to push it.
I took it up a really steep hill of 16% and It managed to get me up maxing out at 15kph, so yeah it is kind of slow, but again, I’m on the heavier side and 16% is still very steep.
As for riding up 30% hill grades, I’m not entirely confident it could do that unless the rider is really light.

ESC, Acceleration and Remote
The M5 DIY Kit is rocking the good old Hobbywing 2.0 ESC, which is a little old now, but is still a good ESC for casual eSkating.
The acceleration is very manageable, especially from a standstill takeoff.
This is great for beginners and young riders, however, experienced riders seeking a punch of acceleration should look elsewhere.
The Hobbywing remote has a nice and big display that shows all of the essential info, including current speed, odometer, trip distance, speed mode, riding direction and battery levels for the remote and the board.
It has four riding modes which increase the acceleration, top speed and braking power as you move up the modes.
Unfortunately, you can’t set the braking power individually, which is a shame because I often like to cruise around in speed mode 2 or 3 to conserve battery power, but have my brakes set really high so I can stop quickly if needed.

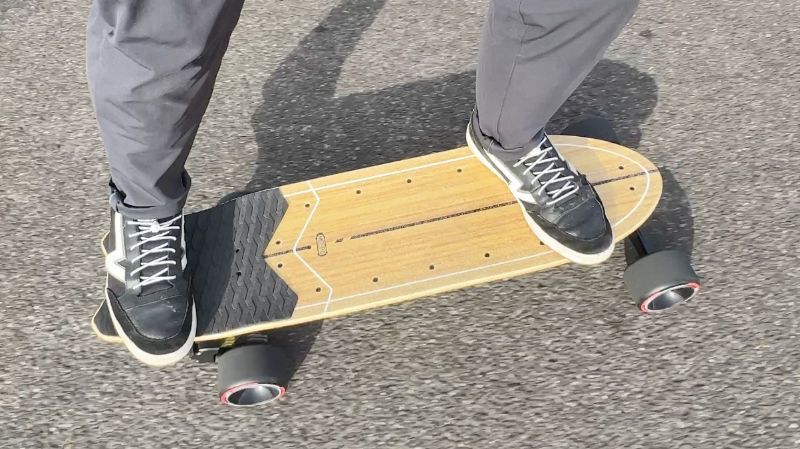
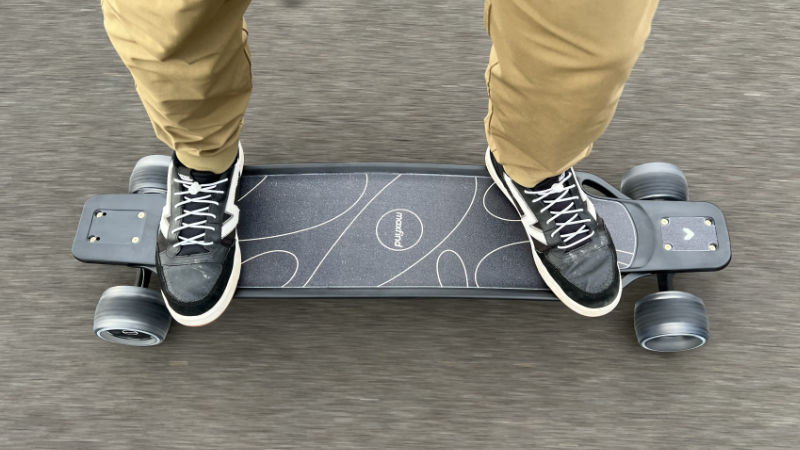
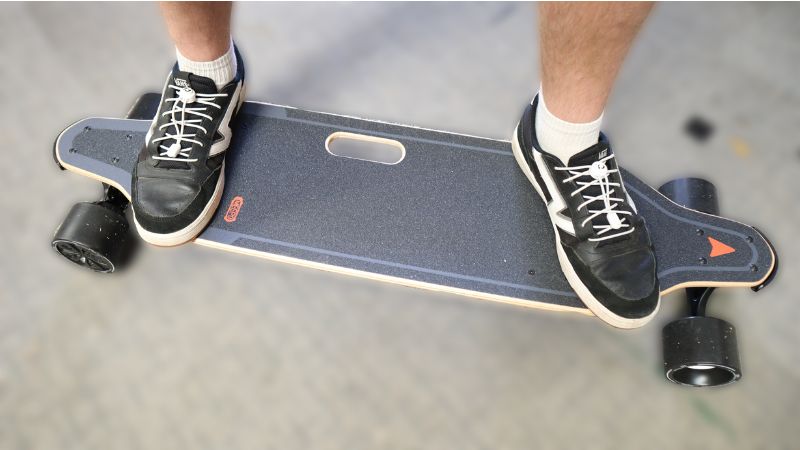
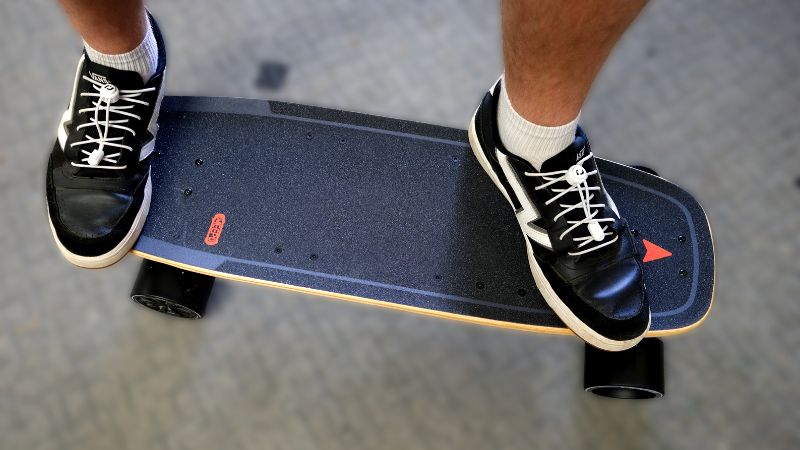
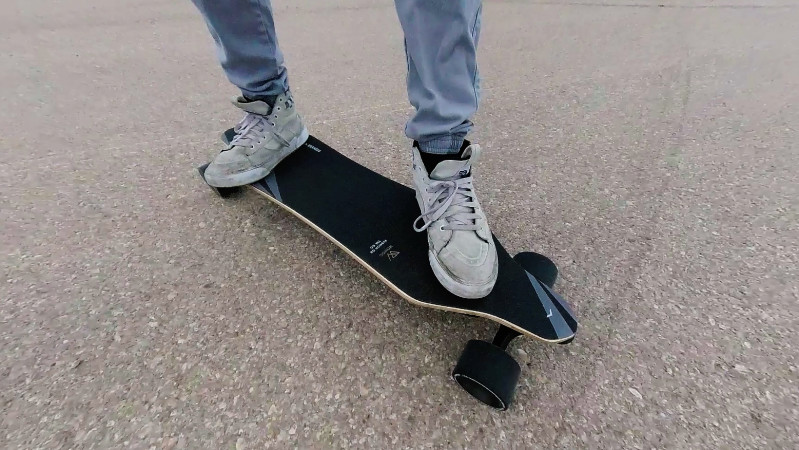
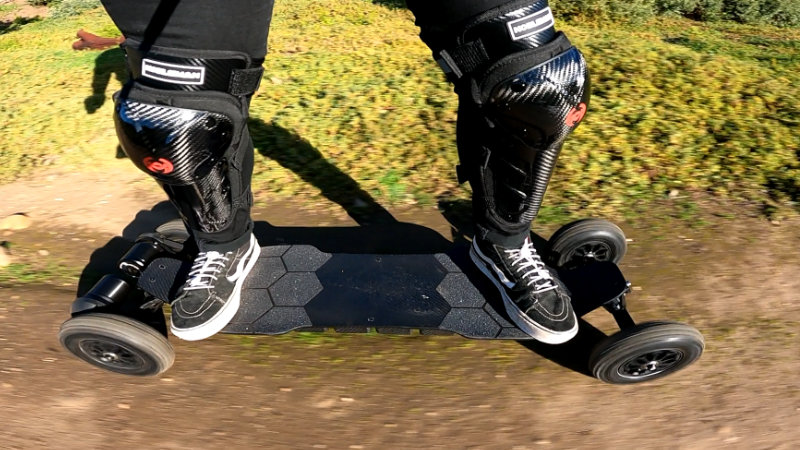
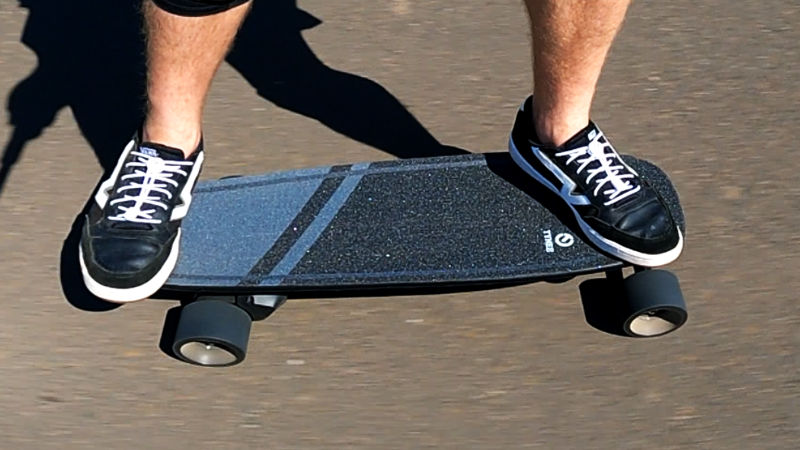
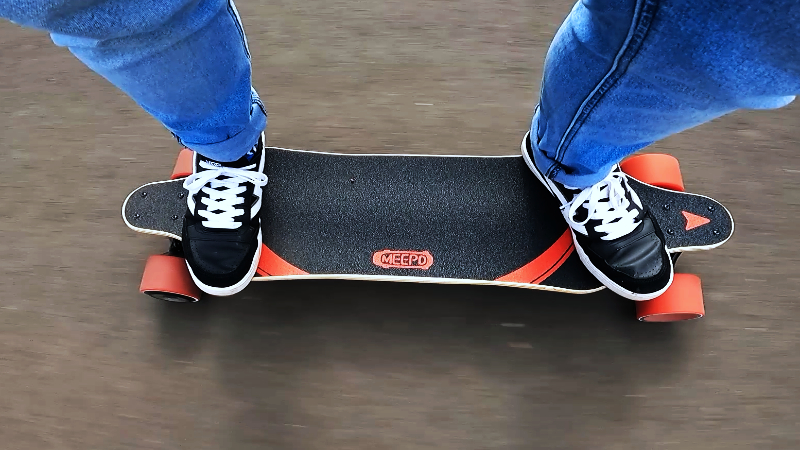
Ride Experience and Overall Quality
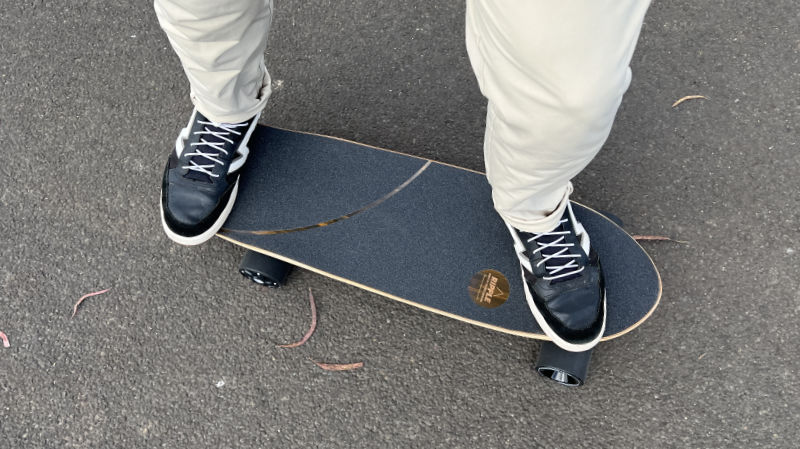
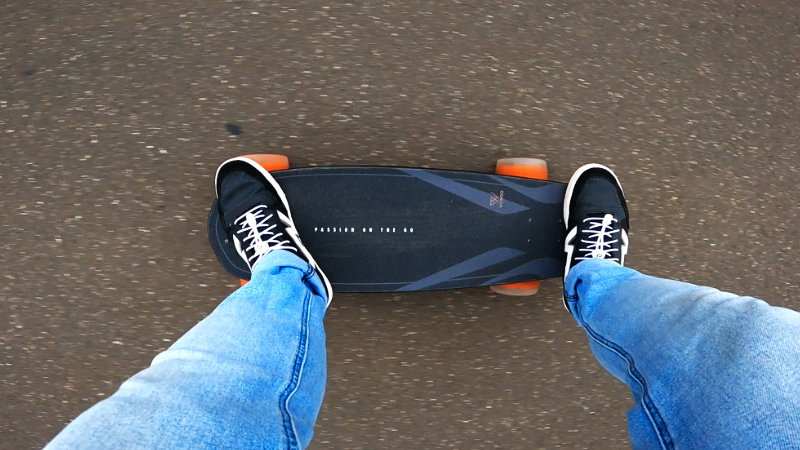
It’s amazing how much of the ride experience comes down to the quality of the deck. I bought a cheap $50 deck from Kmart (the Aussie Walmart) and I can tell it’s of low quality, let alone too short for me.
Aside from that, the Maxfind M5 DIY Kit is a reasonably good electric skateboard for cruising around on the weekend or even for commuting to work if you don’t have too far to go.
The whole package makes for a great project for kids if you’re wanting to get them into building things and it gives them a nice little reward at the end of it.

Final Thoughts
Overall, I do like the M5 DIY Kit. Even considering I have the wrong battery.
It was a fun little project to get me out into the shed and the ride was quite enjoyable if a little casual.
I just wish I invested in a better deck. But that’s the great thing about this DIY Kit, it gives you the freedom to try it out on any deck you like.
On Maxfind’s Website

Maxfind M5 DIY Kit Installation
What You’ll Need
- Maxfind M5 DIY Kit
- Skateboard deck. The flatter the bottom of the deck, the easier it will be.
- Pencil
- ⅜” spanner or shifter
- Philips-head screwdriver or drill
- Drill
- 4mm drill-bit

Pieces in M5 DIY Kit
- Rear trucks with hub motors
- Front trucks with wheels
- 2x riser pads
- 6x 4mm bolts (silver) for enclosure
- 8x bolts (black) for trucks
- 8x nuts (black) for trucks
- Enclosure
Instructions
1- If the skateboard you’re using already has components on it, like trucks and wheels, take them all off. You just want the deck.
2 – Grab the enclosure and flip it so the yellow side is facing up. Unscrew the six screws. You can get rid of these screws, but we’ll use the yellow plate in the next step.

3 – Place the yellow plate on the underside of your deck and align where you want the enclosure to sit. Use the pencil to mark the six holes.

4 – Grab your drill with the 4mm drill bit and drill through the deck at the marked spots.

5 – Remove the foam from the enclosure and peel the white sheet to reveal a sticky side.

6 – Adhere the foam to the deck, ensuring the holes in the foam line up with the holes you just drilled in the deck.

7 – Grab the 6 silver bolts and insert them into the holes from the topside of the deck.

8 – Here’s the tricky part. Align the holes in the battery enclosure with the bolts on the deck. It can be a bit fiddly, but I found the easiest way to do this was to align one bolt in a corner and very lightly tighten the bolt. Then align the bolt that is at the other end in the opposite corner. Again, very lightly tighten.

Then you can work your way around the other bolts, lightly tightening. Once all bolts are aligned you can tighten them, however, make sure you do each bolt bit-by-bit to ensure the enclosure is secured to the deck straight.

9 – Grab the trucks and place it over the holes at the nose and tail to ensure the holes line up. If they don’t, use the same technique with the pencil as earlier to drill new holes.

10 – Once the holes line up, let’s start with the front trucks.
11 – Place 4 bolts into the deck from the top side.

12 – Flip the deck over to see them poking through.

13 – Slip the riser pad holes over the bolts.

14 – Place the trucks on top of the riser pads and thread the bolts through the truck holes. The nut on the trucks faces away from the deck. This is called reverse kingpin.

15 – Grab 4 nuts and hand tighten them onto the bolts.

16 – Next, another tricky part.
17 – Use the spanner to hold the nuts in place and use a philips head screwdriver (or a drill with a philips head bit) to screw the bolts in. Tighten each corner a little bit at a time to ensure the trucks go on straight.

18 – Repeat steps 11-17 for the rear trucks. Just be careful not to pinch the cables under the trucks or nip it with the drill.
19 – Once you have the rear trucks firmly in place, remove the white caps from the cables.

20 – Align the arrow on the cables with the arrow on the port on the enclosure and firmly press them into place.

21 – Make sure you press them all the way into the line on the cable.

22 – Flip it over and admire your handy work. Well done! You just built your own electric skateboard.

Important:
Before you head out, make sure all bolts and nuts are tight and the trucks are straight.
Flip the board over so the wheels are facing up. Turn the remote on and the board on. Test the remote and check that the wheels are spinning in the right direction.

If they’re not spinning in the right direction check these things:
- Is the truck’s bolt facing away from the board? If not, undo it and give it a spin.
- Are the cables crossed? They should not overlap each other.
- Is the remote set to the forward direction?
If none of these fix the problem, contact Maxfind. You might need to reset the remote and ESC.